 Rust-prevention guide
How to Keep Hand Tools From Rusting in Storage
Rust in a shed is a moisture problem first, so the fix is a dry surface and a thin barrier, applied evenly and checked on a schedule.
Hand tools rust in storage because moisture reaches bare steel and nothing stops it. The fix is to start with clean, dry metal, put a thin protective film over it, wipe off what you do not need, and look at the tools again every season. Which coating you choose matters less than whether the surface was dry and clean when you applied it.
Why tools rust in a garage or shed
Rust is iron reacting with oxygen in the presence of water. Bare steel does not need a leak or a flood. A garage that swings between warm afternoons and cold nights produces condensation on cold metal, and a shed with a dirt or concrete floor adds humidity from below. A wrench that sits in a drawer all winter can spot over without ever being rained on.
Fingerprints, dust and old grease residue make it worse. Salt and skin oils hold moisture against the surface, and dust acts like a wick. That is why a tool that was handled and tossed in a box often rusts in the exact shape of the last grip.
Two things follow from this. First, you cannot coat your way out of a wet surface; anything trapped under the film keeps rusting. Second, a coating is a barrier, not a repair. If rust has already started, see does penetrating oil dissolve rust for what oil can and cannot do to existing corrosion.
Step 1: Clean and dry the tool
Wipe off dirt, old oil and grit with a rag. For caked grease or grime, use a degreaser or solvent that is safe for the metal, then let it fully evaporate. Work away from flames and pilot lights, and wear eye protection when using aerosols or solvents.
If there are light rust spots, remove them before coating. Fine abrasive pads or a brass brush work on wrenches and sockets. On cast iron surfaces such as a table saw top, a jointer bed or a vise, a non-woven abrasive pad with a little oil is a common choice. Wipe the dust off afterward. A coating over loose rust seals in the problem.
Then get the tool dry. Wipe it with a clean dry cloth and let it sit somewhere warm and dry for a while, especially around joints, ratchet mechanisms and the seam between a jaw and its body, where water hides. A tool that came in cold from the shed and is already beaded with condensation should warm up in the house first.
Step 2: Choose a thin film or a thick coating
Protective products fall into two broad groups, and the choice depends on how often you reach for the tool.
A thin oil or wax film is the right choice for tools you use regularly: wrenches, sockets, pliers, hand planes, saw plates, measuring tools and the cast iron tables on machines. A thin film is easy to wipe off, does not leave a heavy residue on your hands and does not collect as much dust. The tradeoff is that it offers a lighter barrier and needs to be checked and renewed more often.
A thick, waxy or tacky coating suits tools that go into longer storage or sit in rougher conditions: a seasonal tool, an old set in an unheated outbuilding, equipment stored through a winter. The heavier film is more of a barrier, but it is messier, picks up dust and grit, and has to be cleaned off before use. It is also a poor fit for anything you grab several times a week.
Match the film to the access pattern. A chisel you use every weekend does not need a coating that has to be scrubbed off each time. A set of old wrenches in a coffee can in the shed can handle something heavier.
Products that fit this job
The product links below go to Amazon. We earn a commission if you buy through them. The registry entries below are all protection products. They are not ranked here; for a side-by-side look, see best rust protection spray. For the category as a whole, see spray lubricants and protectants.
- Boeshield T-9 (paid link) is listed as a multi-form protection product, with tools and long-term storage among its best-for uses. It is a reasonable candidate for the thin-film approach on tools you handle.
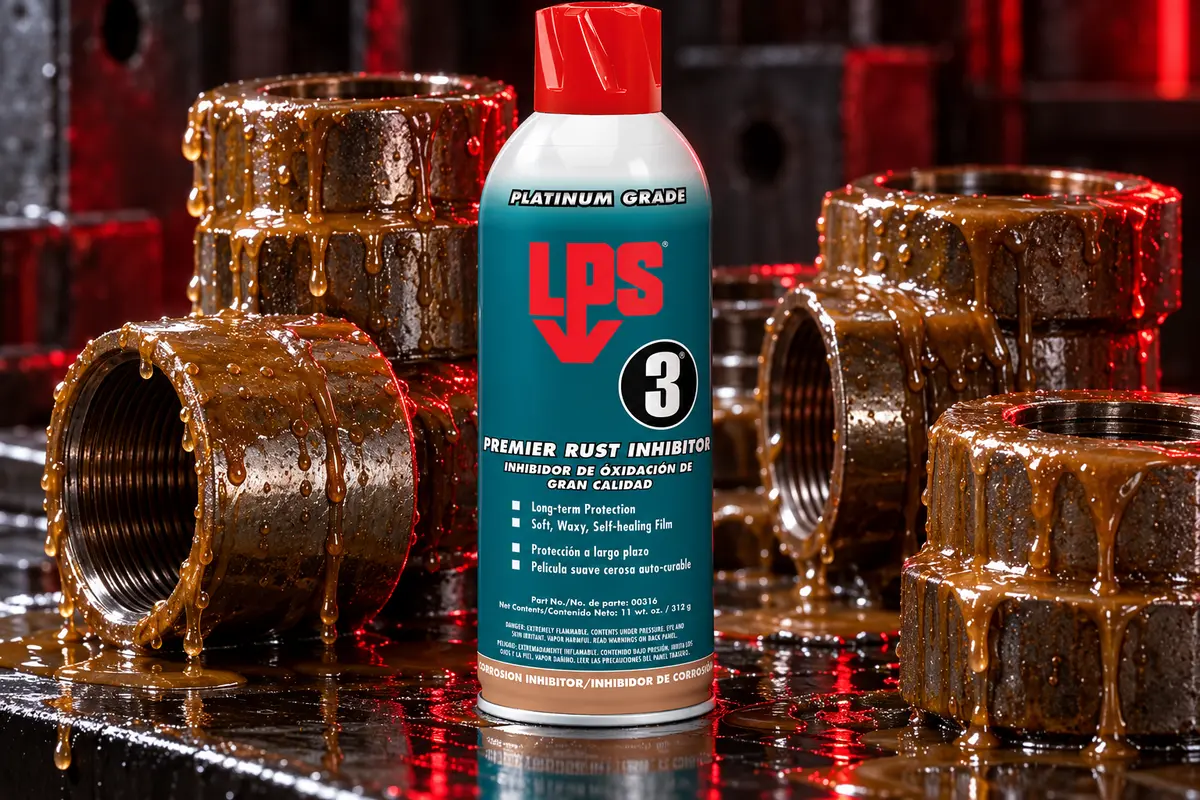
- LPS 3 (paid link) is a protection spray listed for outdoor equipment, seasonal storage and tools. It fits the longer-storage side of the job.
- CorrosionX HD (paid link) is a protection spray listed for aviation, marine, electronics and firearms. Its marine and firearms uses show it is aimed at metal that has to stay protected; check the label for how it handles your specific tools.
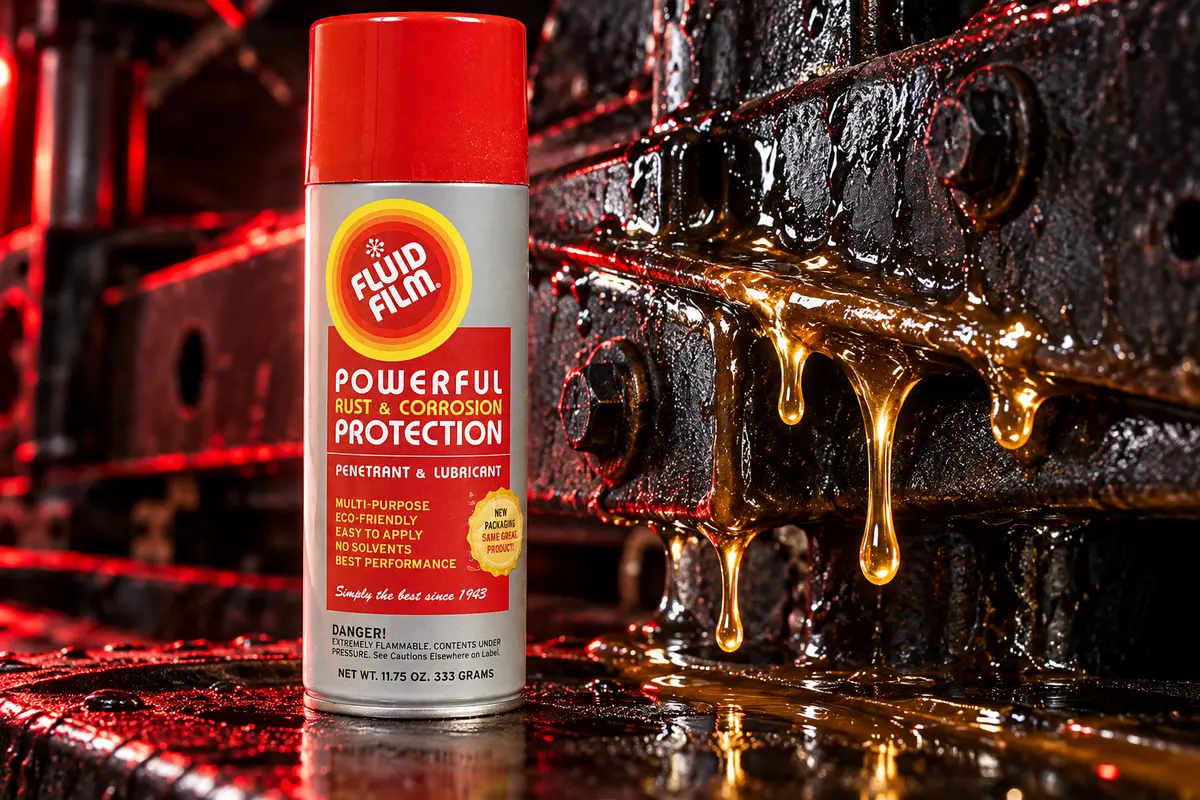
- Fluid Film (paid link) is a protection spray listed for undercarriages, frame rails and salt-belt vehicles. That makes it a heavier-duty choice, better suited to equipment and the thick-coating approach than to a drawer of precision tools.
Check each product’s label and safety data sheet for drying behavior, film type, recoat guidance and how long it is intended to protect. This guide does not promise a duration for any of them.
Step 3: Apply a light, even coat and wipe the excess
More is not better. A heavy wet coat drips, attracts dust and stays tacky longer. Aim for a film you can barely see.
- Spray or apply the product onto a rag rather than directly onto the tool when you can. This keeps overspray off the floor, the bench and nearby surfaces. Spraying a slick coating on a concrete floor makes it slippery.
- Wipe the whole metal surface, including the sides, the back and the inside of box wrench ends.
- For joints, ratchets and adjustable parts, work the mechanism a few times so the film gets into the gap.
- Wipe off the excess with a clean dry rag. What remains should look like a faint sheen, not a wet layer.
- Let the coating set according to the label before you pack the tool away. Some products dry to a thin film and some stay wet.
Use aerosols in a ventilated space, keep them away from heat, pilot lights and sparks, and wear eye protection. Most protective sprays are flammable while wet or while the carrier solvent evaporates.
What not to coat
- Cutting edges you will use right away. A chisel or plane iron you are about to use should be wiped clean first. A film on the bevel and the back is not harmful to the steel, but it can mark the wood and interfere with finishing. If you store edge tools, coat them after use and wipe the edge clean before the next job.
- Rubber, plastic and finished grips. Handles and grips can be affected by solvents and some coatings. Keep product off them, or wipe it off quickly, and check the label for compatibility. See can penetrating oil damage rubber, plastic or brakes for the general principle.
- Anything that touches food. Do not coat kitchen knives, cutting boards, food-prep tools or anything that will contact food with a general rust protectant. Use a product specifically labeled for food contact if you need one, and read what the label says.
- Brake and friction surfaces. If a tool or part includes a friction surface, keep protectant off it.
- Sharpening stones and abrasives. A film on a stone changes how it cuts.
Step 4: Store the tools sensibly
A coating helps, but where the tools sit matters too. Keep them off bare concrete, away from exterior walls and outside the line of drip from a window or door. A closed toolbox or drawer with a desiccant pack or a rust-inhibiting insert slows moisture exchange. Avoid wrapping tools tightly in plain cloth or newspaper, which can hold moisture against the steel. Leave a little air movement where you can.
Step 5: Recheck each season
A film wears off, gets wiped by handling, and can fail where tools rub in a drawer. Pick a regular time, such as the start of autumn and the end of winter, and go through the tools:
- Look for dull spots, tiny orange freckles and dry-looking areas.
- Wipe any spot that looks bare and recoat it.
- If a tool feels gritty or tacky, wipe it off and redo the coat.
- Test moving parts such as ratchets, vise screws and adjustable wrenches.
Catching a freckle in the first month takes a rag. Finding it in the spring may take an abrasive pad. If a bolt or fastener on a stored machine has already seized, how to free a seized bolt covers that next step.
FAQ
Is oil or wax better for hand tools? It depends on use. A thin oil or wax film is easier to live with on tools you handle often. A thicker waxy coating gives a heavier barrier for long storage but needs to be cleaned off before use.
Can I spray rust protection on a tool that is already damp? No. Dry it first. A coating over moisture can hold the water against the steel and the rust keeps going underneath.
Should I remove the coating before using a tool? For wrenches and pliers, a wipe is usually enough. For thicker coatings, cleaning the tool off is the safer habit, and for edge tools and anything near food or finish work it is not optional.
How often do I need to reapply? There is no single interval. It depends on the product, the humidity and how often the tool is handled. Check the label, then use the seasonal inspection to decide.
Will a protectant remove existing rust? Not reliably. Protective products are for prevention. Remove rust mechanically first, then coat the clean metal.
Recommended Products
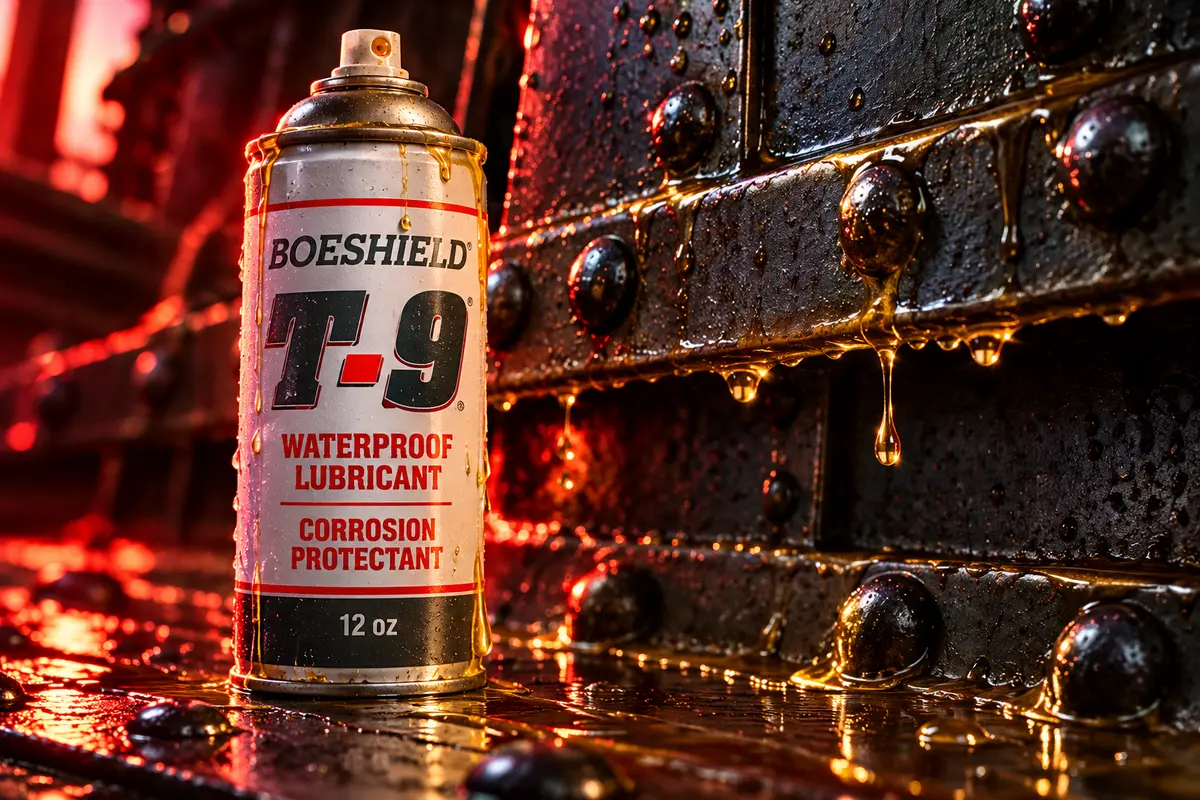
Boeshield T-9
Boeing-engineered. Months of protection. Set it and forget it.
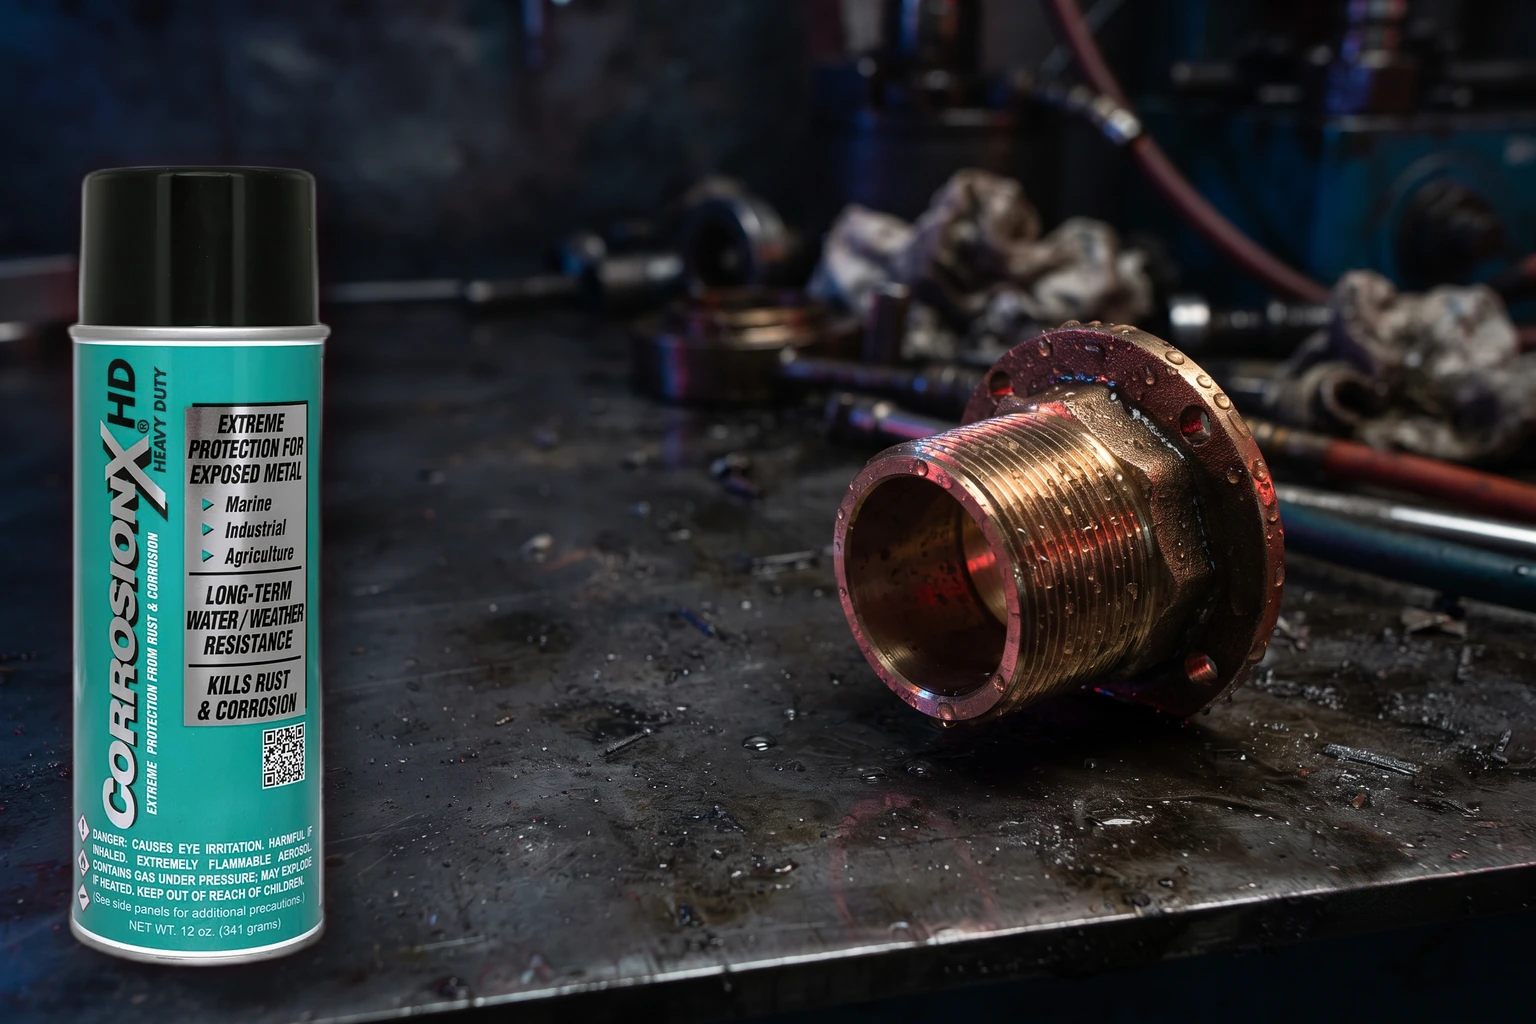
CorrosionX HD
Sold for aviation and marine hardware. Maker says it bonds to metal.
Related Reading
Best Bike Chain Lube
Compare four bicycle chain lubricant reviews and choose by riding conditions, application and cleanup.
PicksBest Rust Protection Spray
Top rust protection sprays and corrosion inhibitors for long-term metal preservation.
PicksBest Multi-Purpose Lubricant
The best do-everything lubricants for home, shop, and field. When you want one bottle that handles anything you throw at it.
Head-to-HeadBoeshield T-9 vs Fluid Film
Boeshield T-9 is listed for bikes and stored tools; Fluid Film is listed for vehicle undercarriages and frame rails.
Head-to-HeadFluid Film vs LPS 3
Fluid Film is the soft, creeping lanolin coat for undercarriages; LPS 3 is the thicker waxy film for outdoor gear and storage.
Head-to-HeadCorrosionX HD vs Boeshield T-9
Both are 12 oz Medium-depth protectants: CorrosionX HD is the pro-tier salt-exposure pick, Boeshield T-9 the mid-tier choice for bikes and tools.